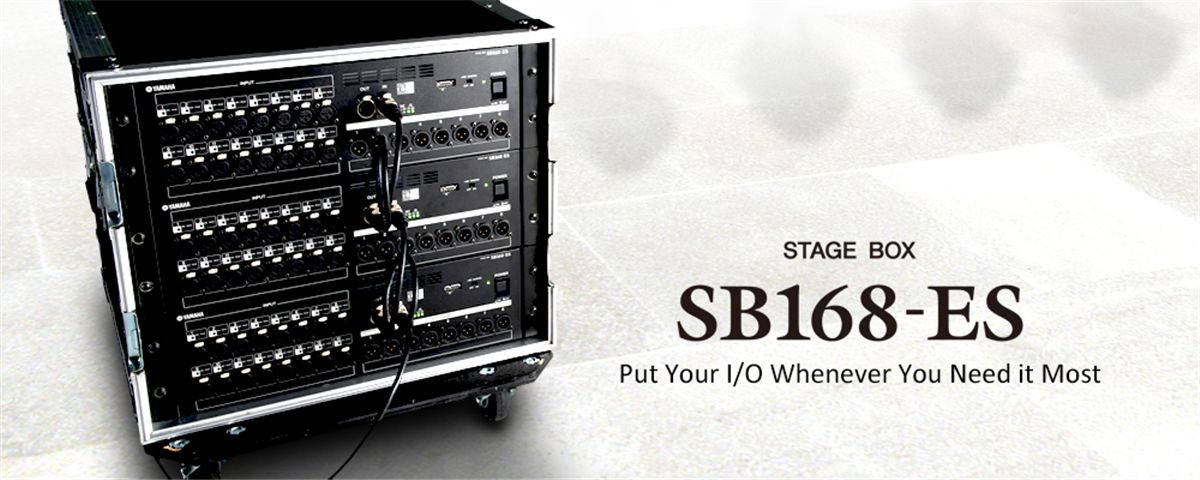
SB168-ES Stage Box
Connection
How do I connect SB168-ES to a mixer?
SB168-ES exchanges audio data with other devices using the EtherSound transmission protocol. To connect to a Yamaha mixer, install an EtherSound interface card such as MY16-ES64 in an expansion slot of your mixer. The interface card is connected to SB168-ES using a CAT5e cable.
Can any mixer be connected to SB168-ES?
Any mixer supporting the EtherSound protocol may be connected to SB168-ES.
Can SB168-ES be connected to analog mixers?
SB168-ES cannot be connected directly to an analog mixer. However, it is possible to interface with analog devices by using an external EtherSound interface such as a Yamaha DME ES series satellite.
Is it possible to connect SB168-ES directly to a DAW for recording?
Yes. SB168-ES may be used in the same way as any other EtherSound network audio device. A direct connection is possible if your DAW is equipped with an EtherSound compatible interface.
How are multiple SB168-ES devices connected?
In EtherSound systems, typically devices are daisy chained.
Ex. MY16-ES64 -- SB168-ES#1 -- SB168-ES#2
EtherSound devices are connected in series using a CAT5e cable.
An EtherSound system can also be connected in a ring topology to make the system redundant. When using ring topologies, all devices in the system must be ES100 compliant. All Yamaha EtherSound products are ES100 compliant.
What types and how many cables are required to connect SB168-ES to a mixer?
1 CAT5e cable is required for each SB168- ES device.
Yamaha recommends CAT5e (or greater) STP (sheilded twisted pair) cables.
If redundancy is required, 1 additional CAT5e cable is required for the entire system.
What is the maximum cable length between two EtherSound devices?
Cable lengths are limited to 100 meters but this may be affected by the quality of the cable.
Can optical fiber be used with EtherSound devices?
Yes. EtherSound may be transmitted over optical cable by using a media convertor. Network switches equipped with optical fiber modules may also be used.
Is it possible to use SB168-ES without a mixer?(Example: for transmitting data between SB168-ES devices.)
Yes. SB168-ES may be used as a general purpose analog I/O box for transport of audio between remote locations.
May line level devices be connected to SB168-ES?
Yes. However since there is no PAD function, care must be taken so that inputs are not overloaded.
The input specifications of SB168-ES are as follows:
GAIN--NominalLevel--Max. before clip
-62db -62dbu -42dbu
+10db +10dbu +30dbu
Will I be able to setup the unit just using Quick Setup?
Quick Setup is used to configure complete EtherSound systems comprising of one MY16-ES64 and 1 to 4 SB168-ES units. Using Quick Setup, you can easily configure all MY16-ES64 and SB168-ES settings, but you will need to configure wordclock and patch settings of the mixer.
When using ring topologies, how do I connect ESMonitor?
"To connect ESMonitor to a running EtherSound ring network you will need a device having a ""third"" EtherSound port. For devices implementing a third EtherSound port, please refer to:http://www.ethersound.com/
If you do not require real time monitoring of the ring network, and only require to set it up, connect ESMonitor to the IN port of the Primary Master Device, and make all settings. Once settings are complete, remove the PC and connect the OUT port of the last device in the daisy chain to the IN port of the Primary Master.
How is setup performed for ring topologies?
The procedure for configuring ring topologies is essentially the same as for daisy chain topologies. However there are certain restrictions which apply to ring topologies:
The sampling rate must be a multiple of 48KHz.
Transmission is only permitted on downstream channels and reception is only permitted on upstream channels.
All devices must have their End Loop parameters set to ON.
Emergency Clock must be on for all devices .
Hardware
Can SB168-ES be used with a 120V power supply?
Yes. SB168-ES has a Universal Power Supply and may be used with line voltages from 100V to 240V. All you need to provide is the appropriate plug adaptor for the region.
When rack mounting, do I need to leave empty space between SB168-ES units? How much space should I leave behind the rack?
When rack mounting, it is important to take into account the surrounding temperature of the unit. SB168-ES has been tested to operate properly in environments of 0 ~ 40 degrees C.
If the temperature exceeds this range, it is possible that the unit will not operate to specifications. To ensure that the unit does not overheat, follow the precautions listed below.
When the fan speed is set to LOW, always leave more than 1U of rack space between every two SB168-ES units. Also either leave the empty spaces uncovered or install the appropriate ventilation panels to minimize the possiblity of heat buildup.
When rack mounting with other devices such as power amplifiers which generate a significant amount of heat, leave 1U of rack space between SB168-ES and other devices.Also either leave the empty spaces uncovered or install the appropriate ventilation panels to minimize the possiblity of heat buildup. Leave the rear of the rack open and keep it at least 10 cm from walls or other surfaces.If the rear of the rack can't be left open, install a commercially available fan or other ventilation option to ensure sufficient airflow. If you've installed a fan kit, there may be cases where closing the rear of the rack will produce a greater cooling effect. Refer to the rack and/or fan unit manual for details.
SB168-ES does not seem to have many controls or switches. How is the device configured?
Most setup operations are performed using AVS ESMonitor available from Auvitran. Operations that may be performed from the devices front panel are Power ON/OFF, phantom power ON/OFF, configuring setup IDs with dip switches, and initialization.
Other
Can SB168-ES be used with a 120V power supply?
Yes. SB168-ES has a Universal Power Supply and may be used with line voltages from 100V to 240V. All you need to provide is the appropriate plug adaptor for the region.
How many rack spaces does SB168-ES require? Does SB168-ES come with rack mounting brackets?
SB168-ES requires 3U of rack space and rack mounting brackests are provided.